Upper Body
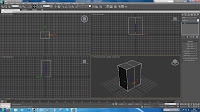
I started off with a basic 'box' object which is split into two segments using the 'connect' tool to form the upper torso. This is then converted to an editable poly for further modification.
Following this, using the polygon selection tool, one side of the model's polygons are removed in order to prepare the model for a symmetry modifier to be applied.
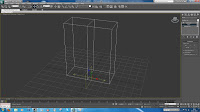
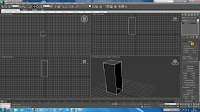
Next, the symmetry is applied and the model is reshaped in order to produce a more 'humanoid' upper body shape. The polygons are also divided using the 'connect' tool to create an upper section of the chest which will be used for creating the arms.
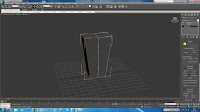
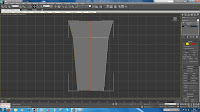
To create the arms, I used the 'bevel' tool after selecting the upper-side polygons and pulling them outwards.. As you can see, this technique is very effective at producing a very basic model , very quickly which can be refined at a later time.
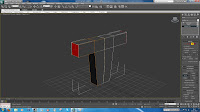
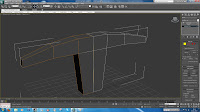
With the arms complete, I can now begin to model the character's hands..
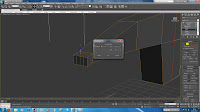
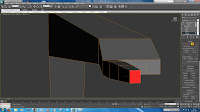
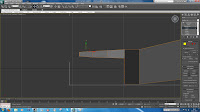
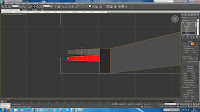
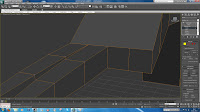


This was done by 'extruding' the polygon faces further and dividing the end polygon into 4 segments. The first section which will form the little finger is again extruded using the 'extrude' tool and reshaped into a finger piece.
Hot Tip - The easiest way to connect a set of vertices from two sections of a model is using the Target-Weld tool. Just remember to delete any polygons on the inside of the shape first!
A huge time-saver here is to duplicate the finger section by 'highlighting' the relevant polygons and holding the 'shift' key to drag a new instance of the finger to the position of the index finger. It is important to remember that doing this does not connect the finger to the rest of the model - therefore to resolve this, the polygon on the inside of the gap between the hand and finger is removed and, using the 'target-weld' tool, connect the vertices to close the gap.
This process is repeated until all fingers (including the thumb) have been created and connected properly..
This process is repeated until all fingers (including the thumb) have been created and connected properly..
After the upper body is done - I can now begin to model the legs and feet. The same technique was used here, using the 'extrude' and 'bevel' tools to extend the polygons to model the legs.
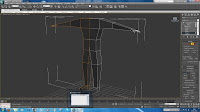
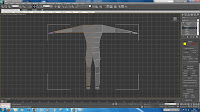
In order to create more detail on the model in the future, I divided the chest and stomach areas up, creating more polygon faces which will give me flexibility when deciding on the amount of detail I want to add.
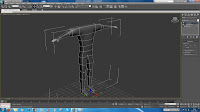
At the present - adding a 'mesh-smooth' modifier shows how flat the model currently is. To resolve this, the edge tool was used under the 'edit poly' menu to select all the edges along the middle of the model and dividing them using the connect tool. This allows you to add further 3d depth to the model - thus creating a more realistic look..
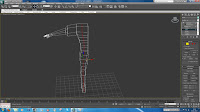

At the present - adding a 'mesh-smooth' modifier shows how flat the model currently is. To resolve this, the edge tool was used under the 'edit poly' menu to select all the edges along the middle of the model and dividing them using the connect tool. This allows you to add further 3d depth to the model - thus creating a more realistic look..


No comments:
Post a Comment